THE SECOND RHODODENDRON BED

THE SECOND RHODODENDRON BED
There are several natural mounds in the garden. In fact, there is little of it that is flat!
When I excavated the Koi pool, I dumped the spoil on one of these and ended up with a mound which was too steep to mow and which quickly became covered in nettle, dock and broom.
In 2004 we decided to make this into a second, raised Rhododendron bed as the first was successful in providing the acidic medium needed. Details of the location and the first photos were sent to Glendoick, who offer a free advisory service, and they provided a list of medium-sized Rhododendrons which would be suitable for the site.
The construction was scheduled for the Summer of 2005 but making the garden in front of the house and spreading 80 tons of 'chippy dust' on the track delayed this. It was decided to have a proper job done by employing a dry-stane dyker to build the retaining wall and he also constructed the 'S' wall for the seats in the same area.
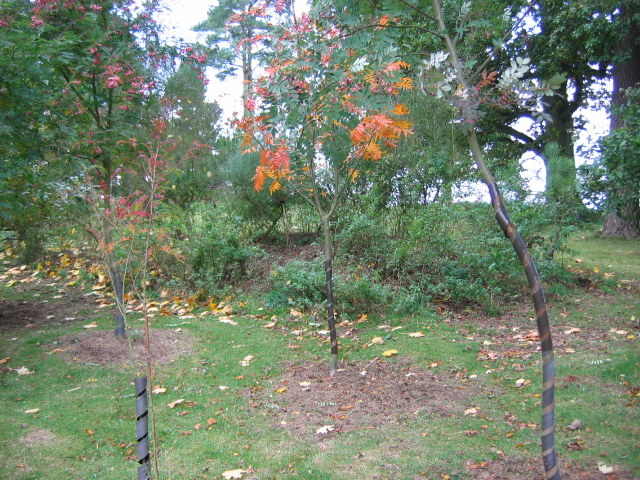
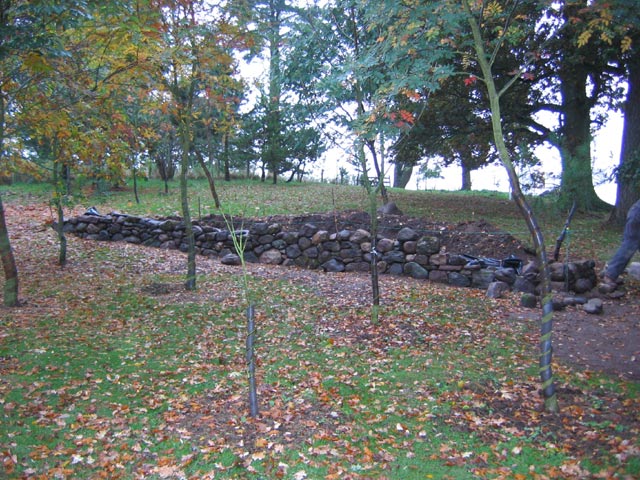
October 2004, the mound from the south.

Viewed from the east.
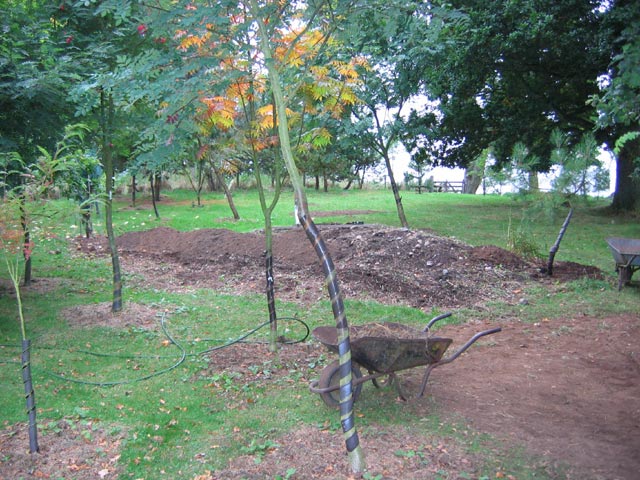
October 2005 with the nettle cleared.

From the east.
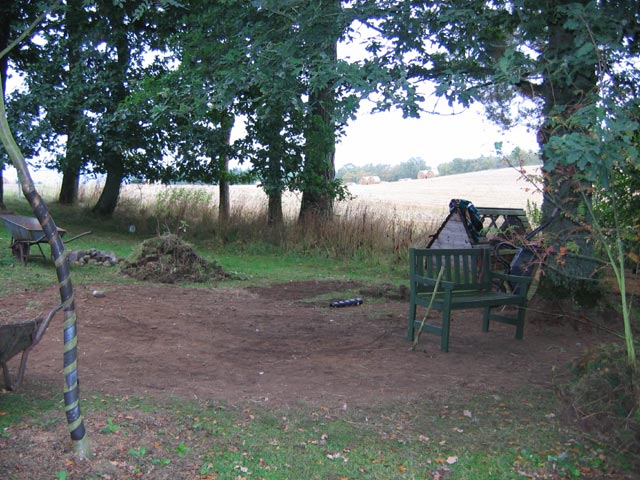
The layout for the seat wall.
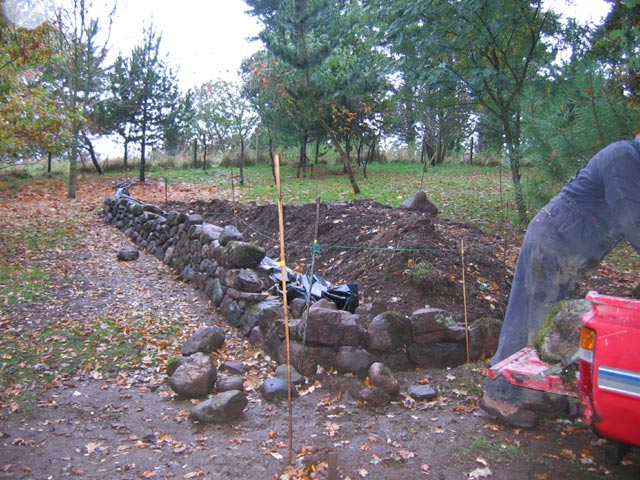
November 2nd. Mr Blackie starting the wall.
From the south
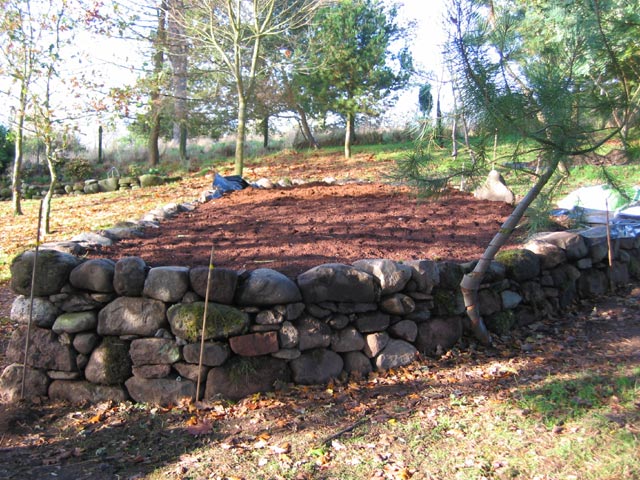
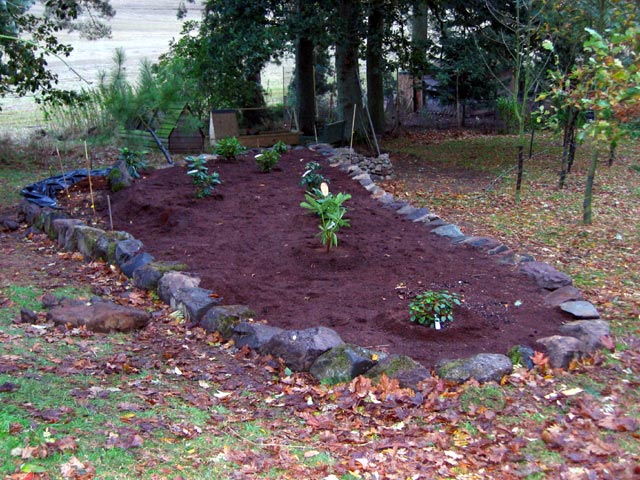
November 9th, adding the peat.
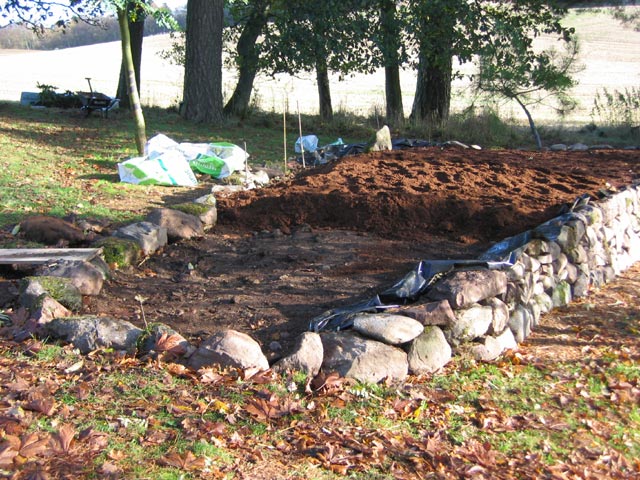
From the west.
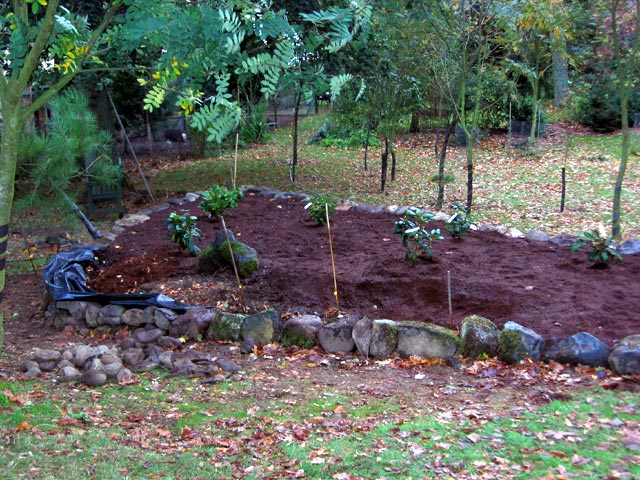
November 10th. Planted.
November 10th. from the west.
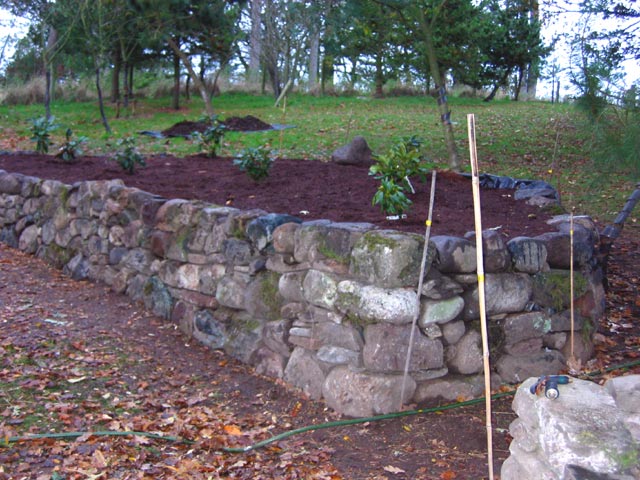
November 10th. from the east.
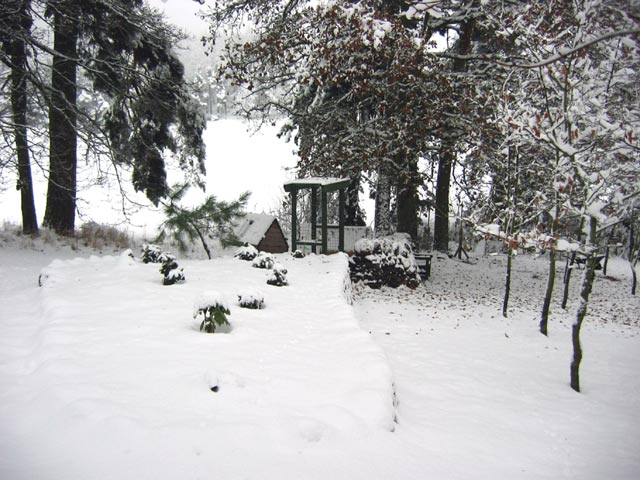
December 30th. from the west.
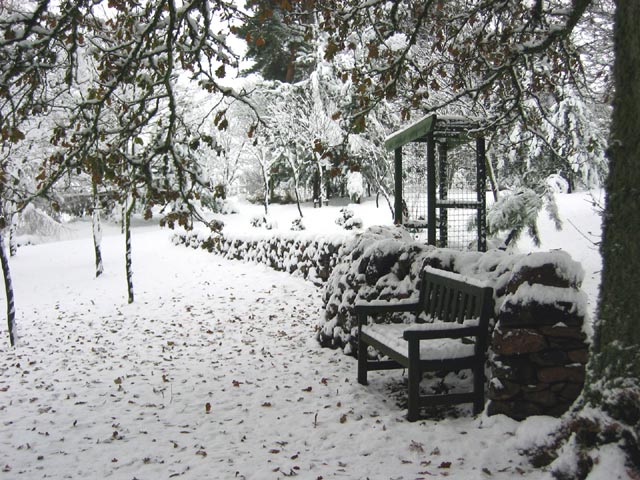
December 30th. from the east.
We don't usually use peat.
The first Rhododendron bed was filled with spent mushroom compost mixed with powdered sulphur to reduce the alkalinity. However, whilst we can find mushroom farms keen to sell their spent compost, it's getting very difficult to find anyone who can deliver a load.
For this bed, a 9" layer of peat with added sulphur was laid on top of the soil. The theory is that, as Rhododendrons are shallow rooted, by the time their roots grow through this layer, the decomposition products of the peat will have made the soil beneath sufficiently acid for them.
UPDATE, 2010 This seems to be working as the plants are flourishing with no sign of chlorosis after 5 years.
'Leaky Pipe' was laid with a loop around each plant and a connection made to the first bed where loops were also laid as it is important that the plants never dry out.